|
I have been working on painting the hair for the past two days. I wasn't sure about where to start because I wanted to make my color choices meaningful, but also use the resources I have readily available. So, I dug around in my hall closet and found a box of old craft paints. I decided to go with yellows, oranges, and pinks because I wanted some brightness and vibrancy to contrast against the black. Plus, I had a lot of yellow and pink paints. I began with a base-coat of yellow because it seemed like a good undertone for the orange and pink hues I knew that I would want to add later on for texture and depth. Then, I just mixed the paints and added strokes of color here and there to create some forms within the hair that I would later outline and make more detailed and authentic. After a few layers of paint, I began added some more nuanced lines with colored pencil because the surface of the wood was more smooth, and it was just much easier to pick up a colored pencil and just had some marks here and there without worrying about it might be too bold. At this point, I am happy with the direction I am heading in, but I definitely do not feel like I can move on from the hair yet. I want to continue to emphasize the different forms in the way the hair falls and flows so that it seems more organic and life-like.
0 Comments
My dad showed me how to use some tools today so that I could go ahead and cut the wood. It took me all day, but I did it! I used a jigsaw, coping saw, Japanese saw, and a buffing tool. The jigsaw worked well for cutting the straighter and smoother edges, while I used the jigsaw and sometimes Japanese saw to get the details of the hair. Some of it was nerve-wracking because I knew that one wrong move and I would have to account for it by altering a significant part of the outline. However, I am satisfied with the outcome. The little part I had to cut inside of the piece was difficult because none of the tools my dad had given me were made for actually piercing the wood directly. So, I used a kitchen knife and basically stabbed at the wood until I broke through. Then, I used the knife to saw back and forth until the hole was large enough for me to fit the jigsaw blade into. The only part I am not totally content with is the top of the head. I was afraid the jigsaw blade was going to break while I was cutting that part because I had been using it for a while and the blade had started to heat up and bend. As a result, I cut most of that straight line with the coping saw -- which means that the line was a little bit jagged and rough in some places. I tried to even it out later once the jigsaw blade had cooled, but I cut a little too deep at one part. My solution is to just overlap the forehead with the headspace so that only that straight edge is visibile, rather than continuing to cut lower into the head. Now that I am done sawing, I am excited to start adding colors to the piece!
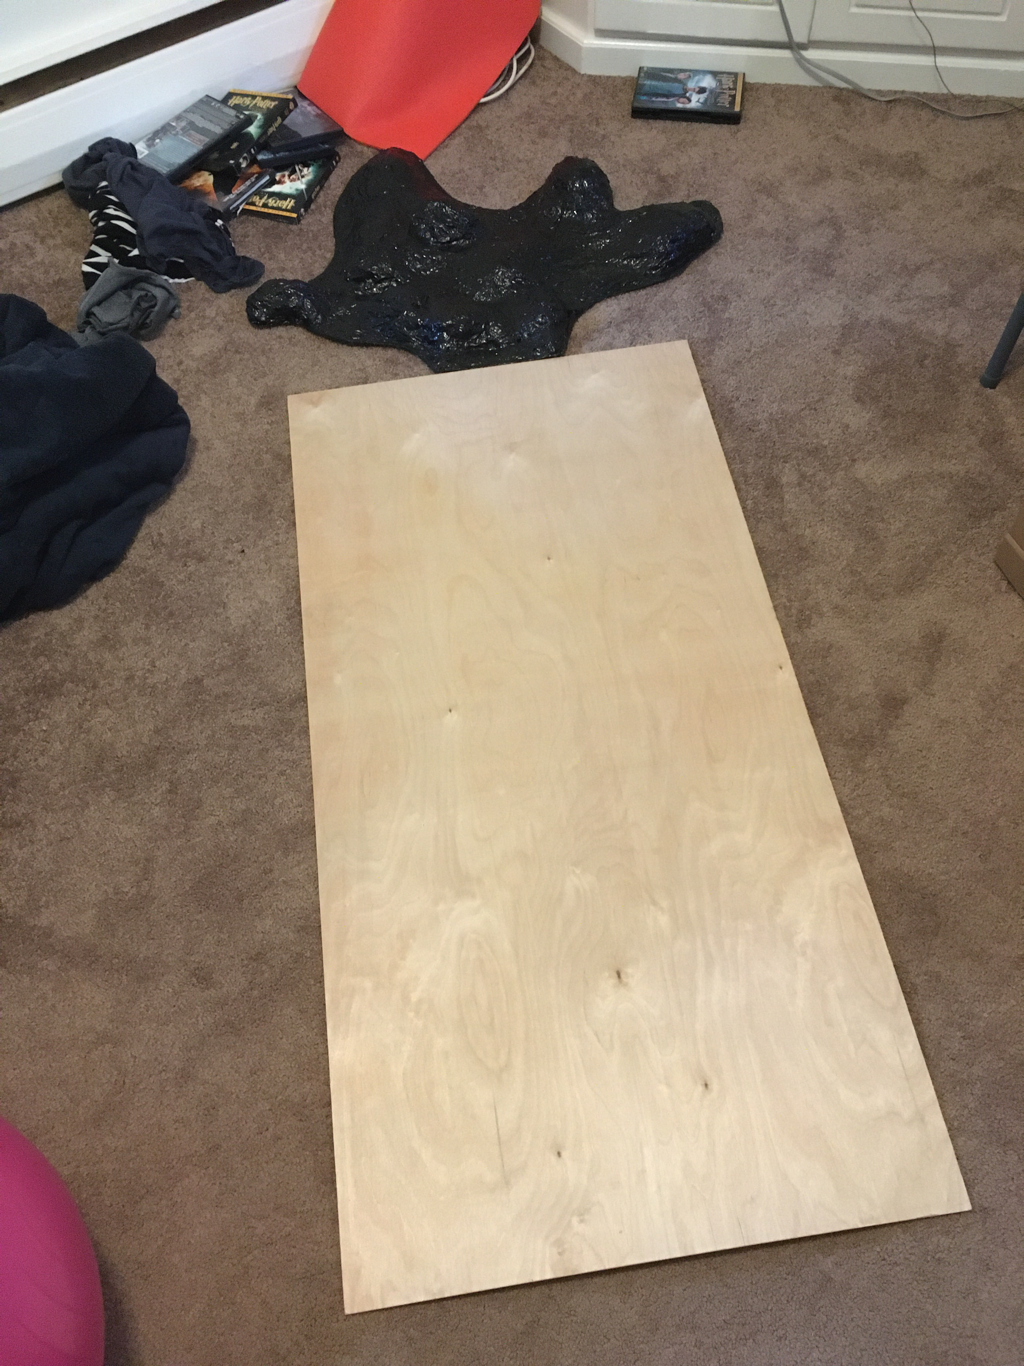
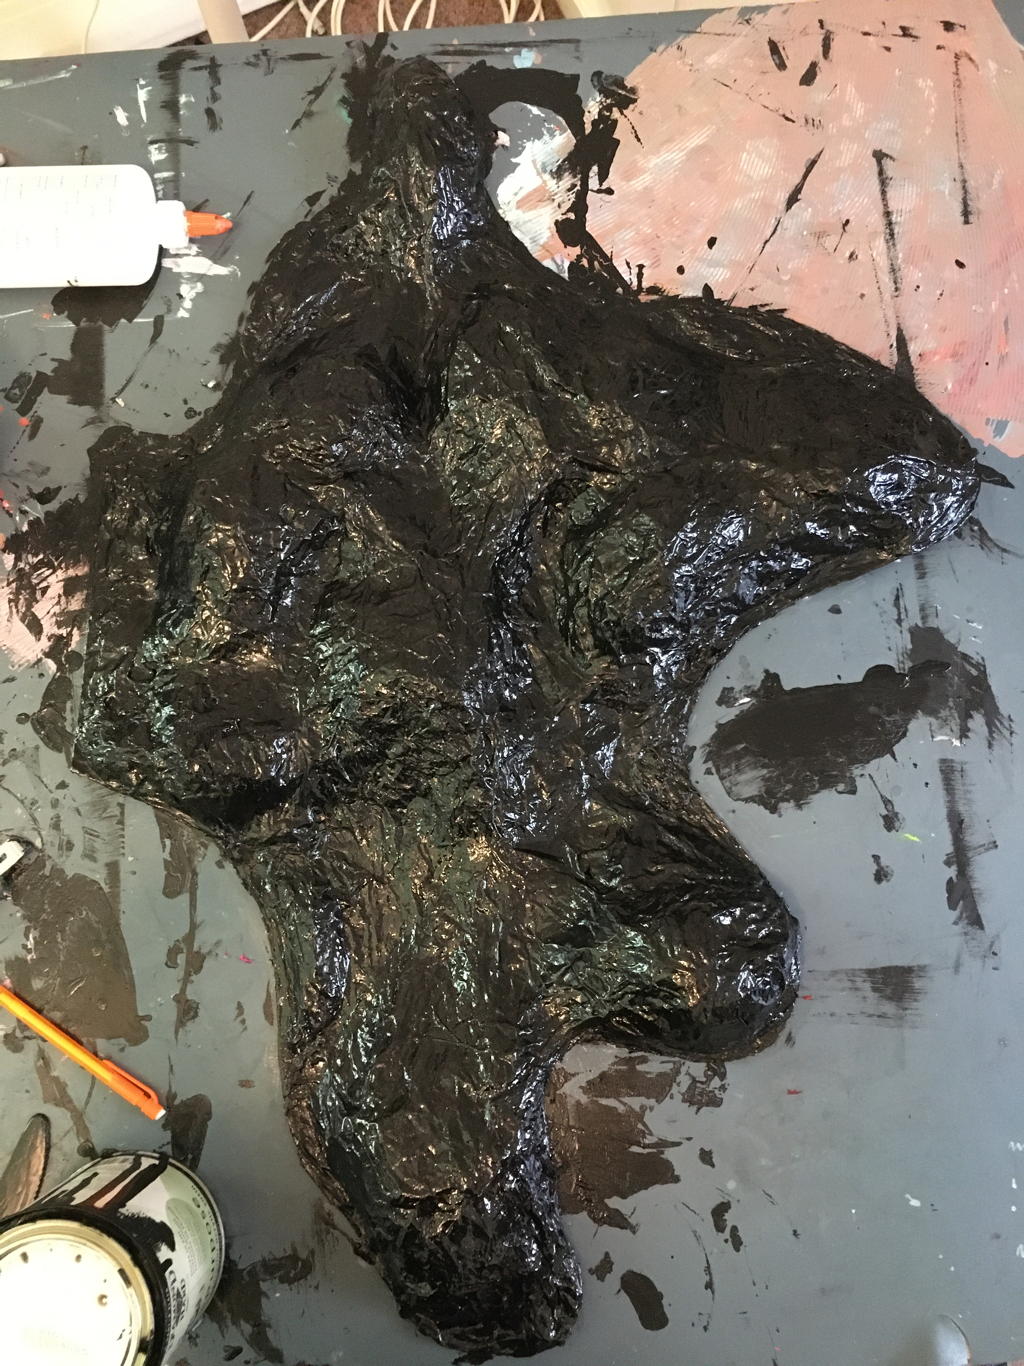 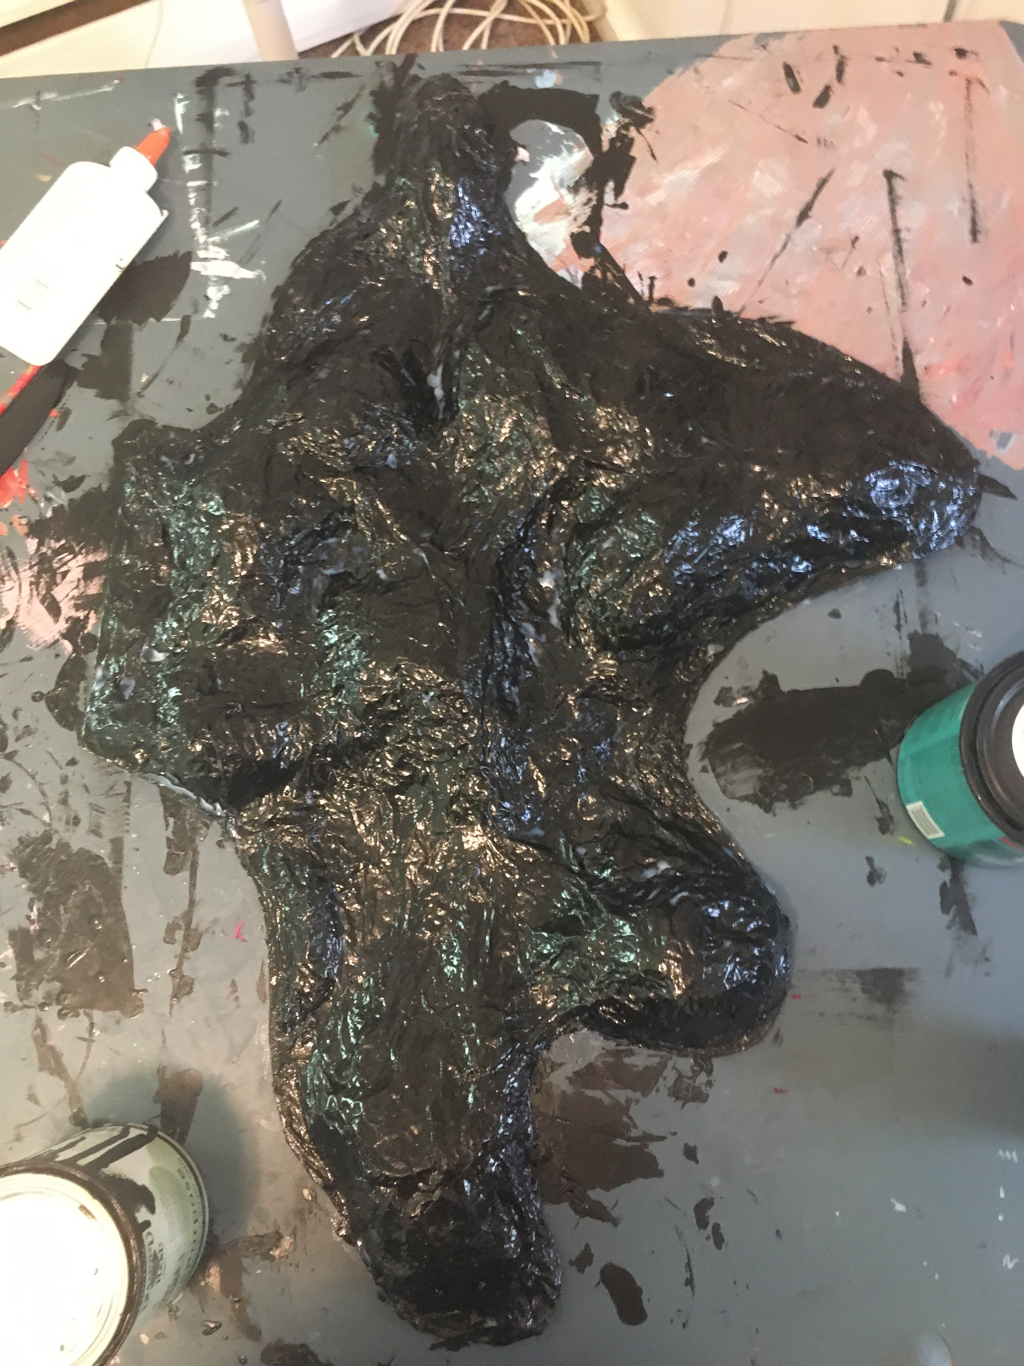 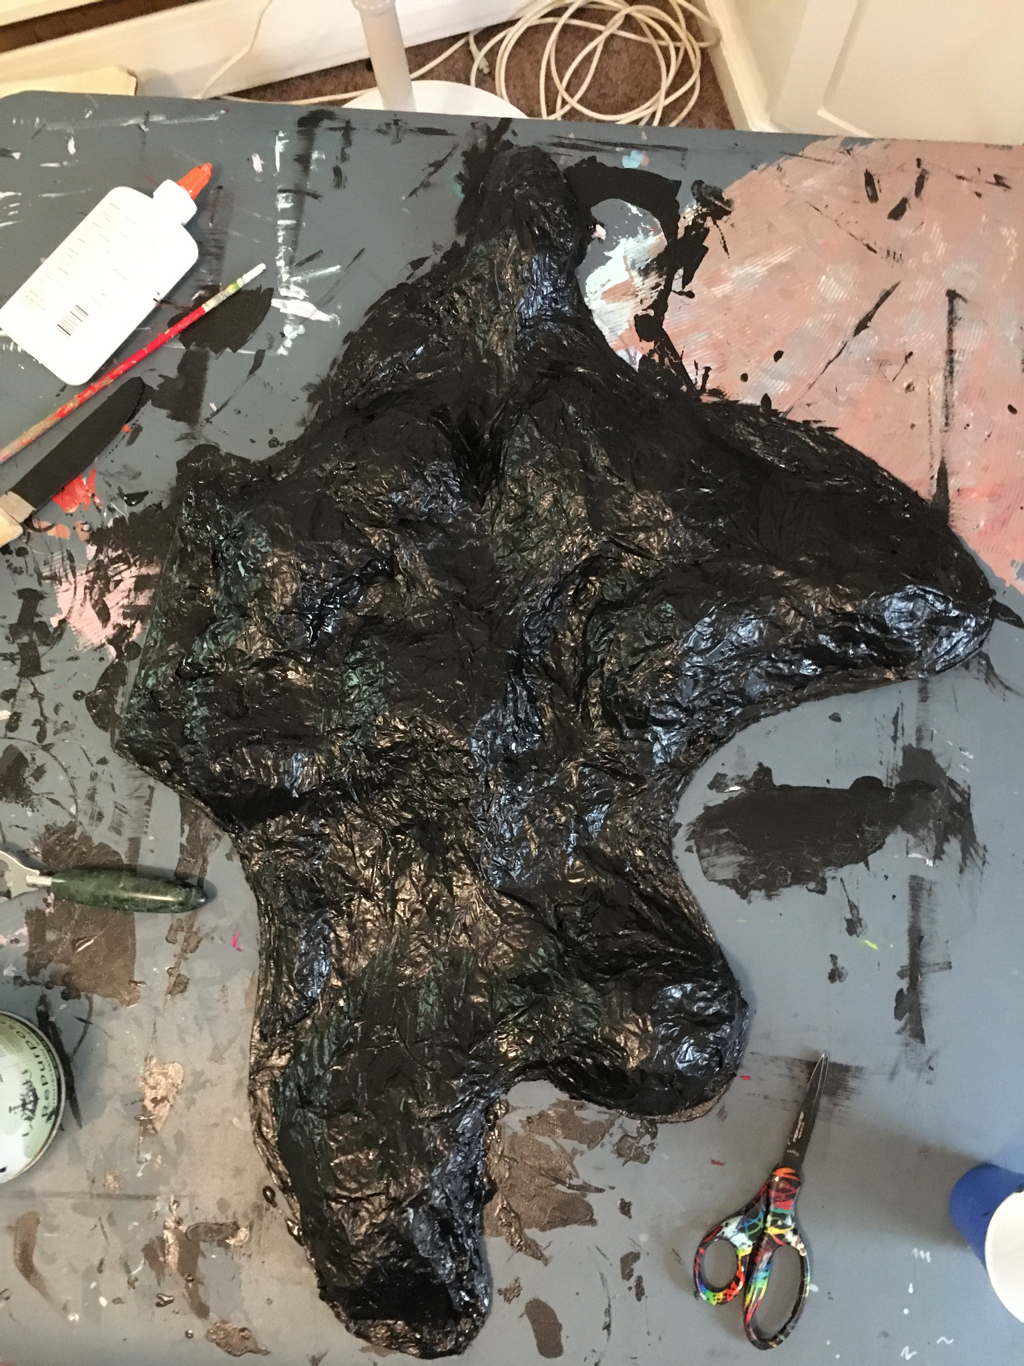 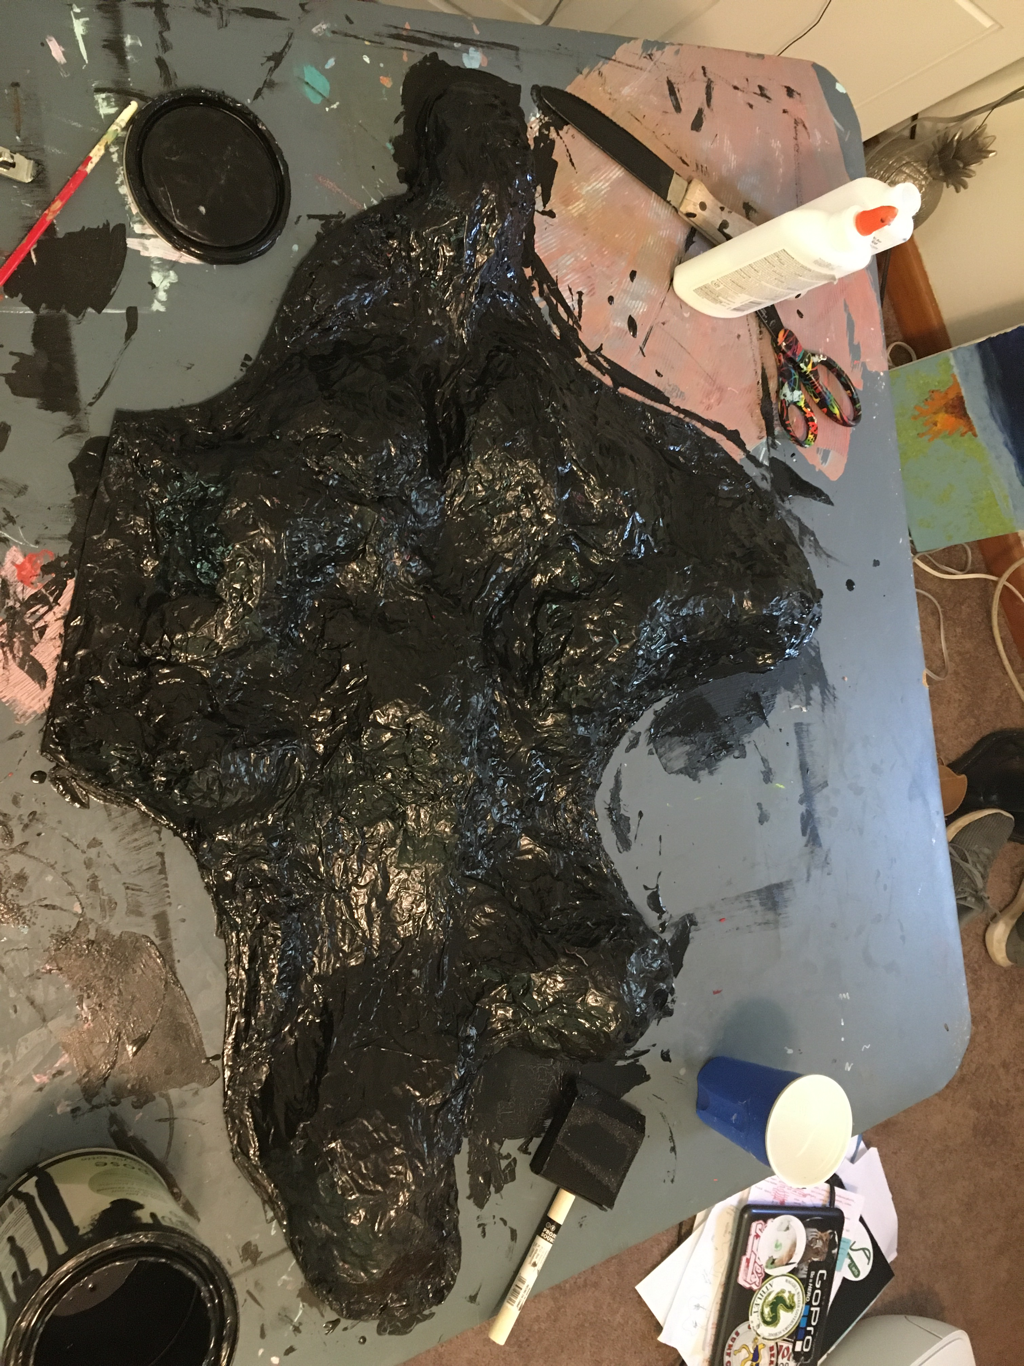 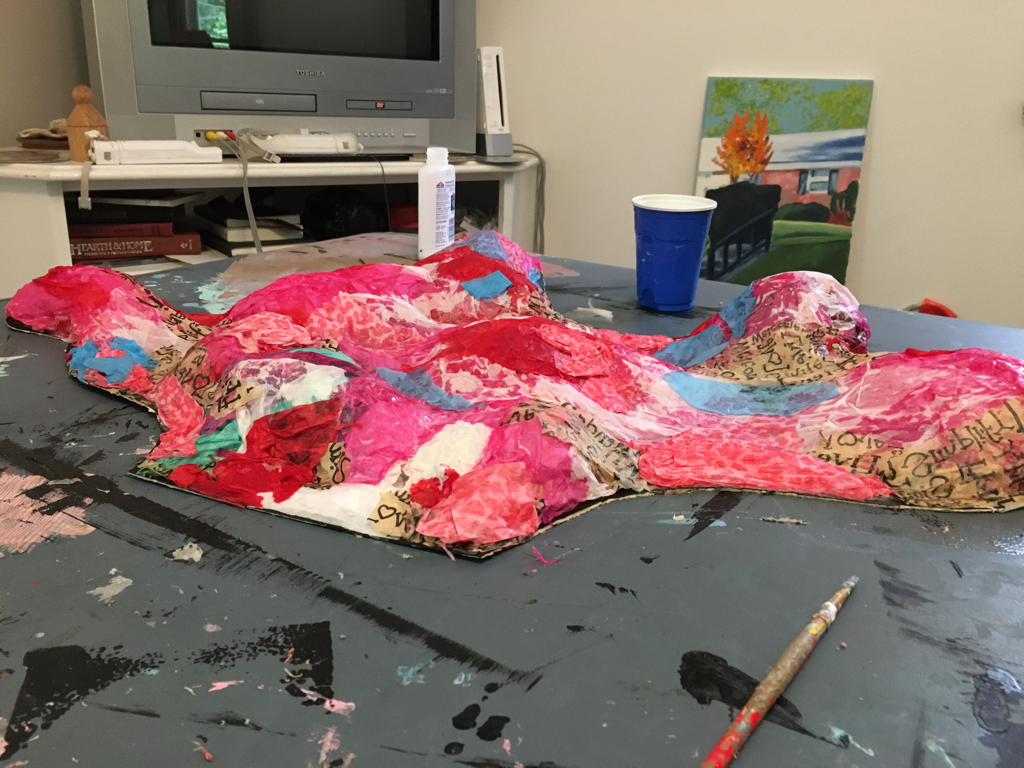 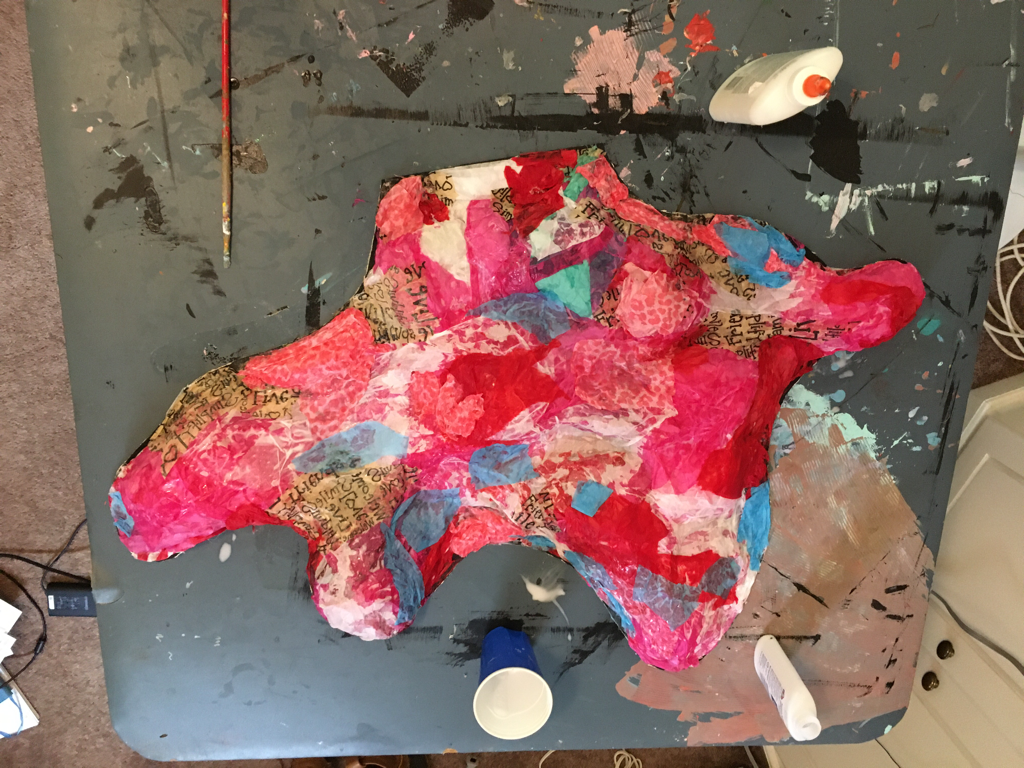 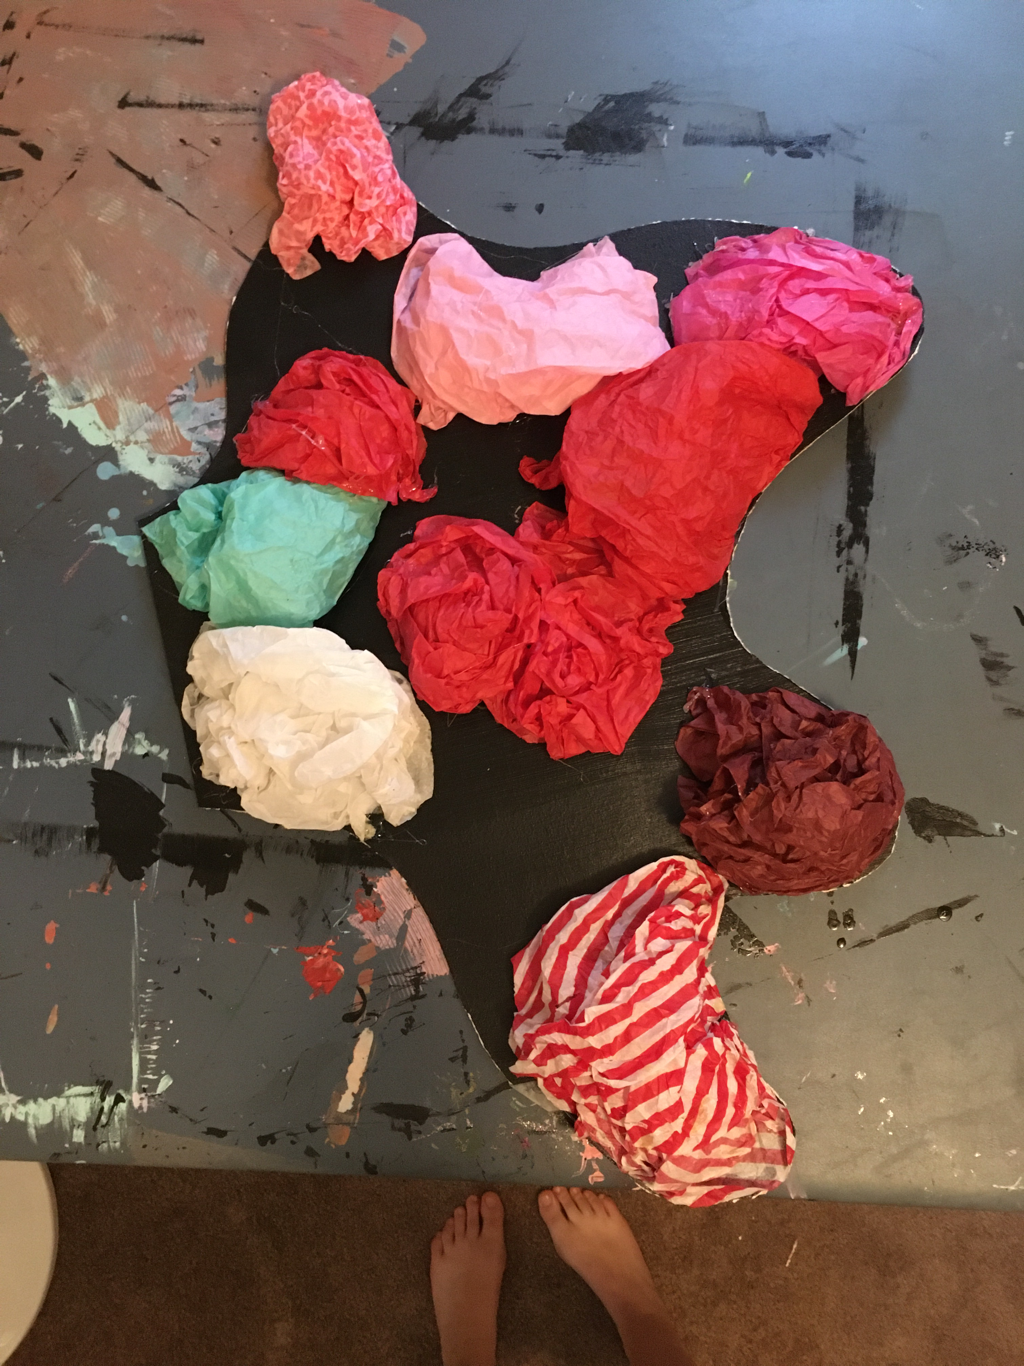 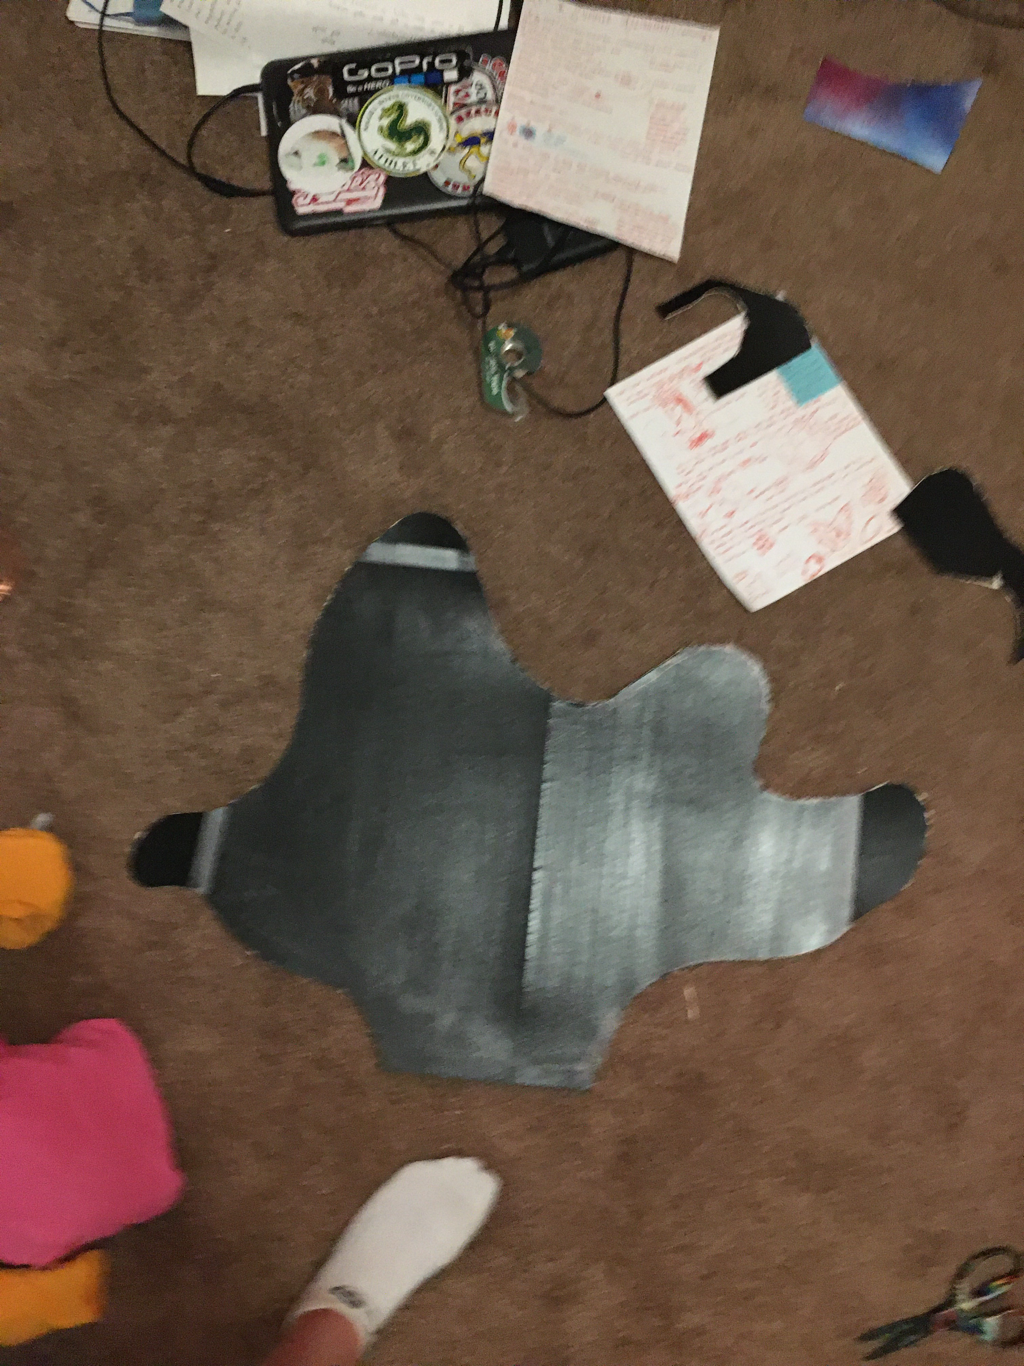 The "head space" is complete! it took me a while to figure out the best course of action because I knew that I wanted it to be 3-D with some texture and form, but I also knew that my resources were limited; I wanted to find a happy balance of resourceful and competent. I ended up going for a sort of paper-mache technique . I thought about using playdough or clay and molding then baking it, but I figured that would be extra money and an extra trip to the store that I truly did not want to make. So, I rummaged through my hall closet and found our HUGE bag of tissue paper that we have accumulated from countless Christmases and birthdays throughout the years. I made the outline of the shape from two old pieces of mat-board I had spray-painted on one side. I taped the two board together and then cut along the outline I drew. It was actually kind of difficult to cut through the board, but I managed. Then, I mixed some liquid Elmer's glue and water in a small bowl. I found an old paintbrush and began applying the tissue paper. I started off with loose balls to form the crest-like places, and then I stretched thinner pieces of tissue paper as a sort of shell around the mounds so that they would hold their shapes. After that< i just began played strips of tissue paper and glue wherever I saw it. It was actually a pretty enjoyable process because I could see exactly where each piece would go and how it would fit into the overall shape. Plus, I liked that there wasn't any stress of not being able to go back and re-shape an area because i could easily add, remove, or change any addition I made.
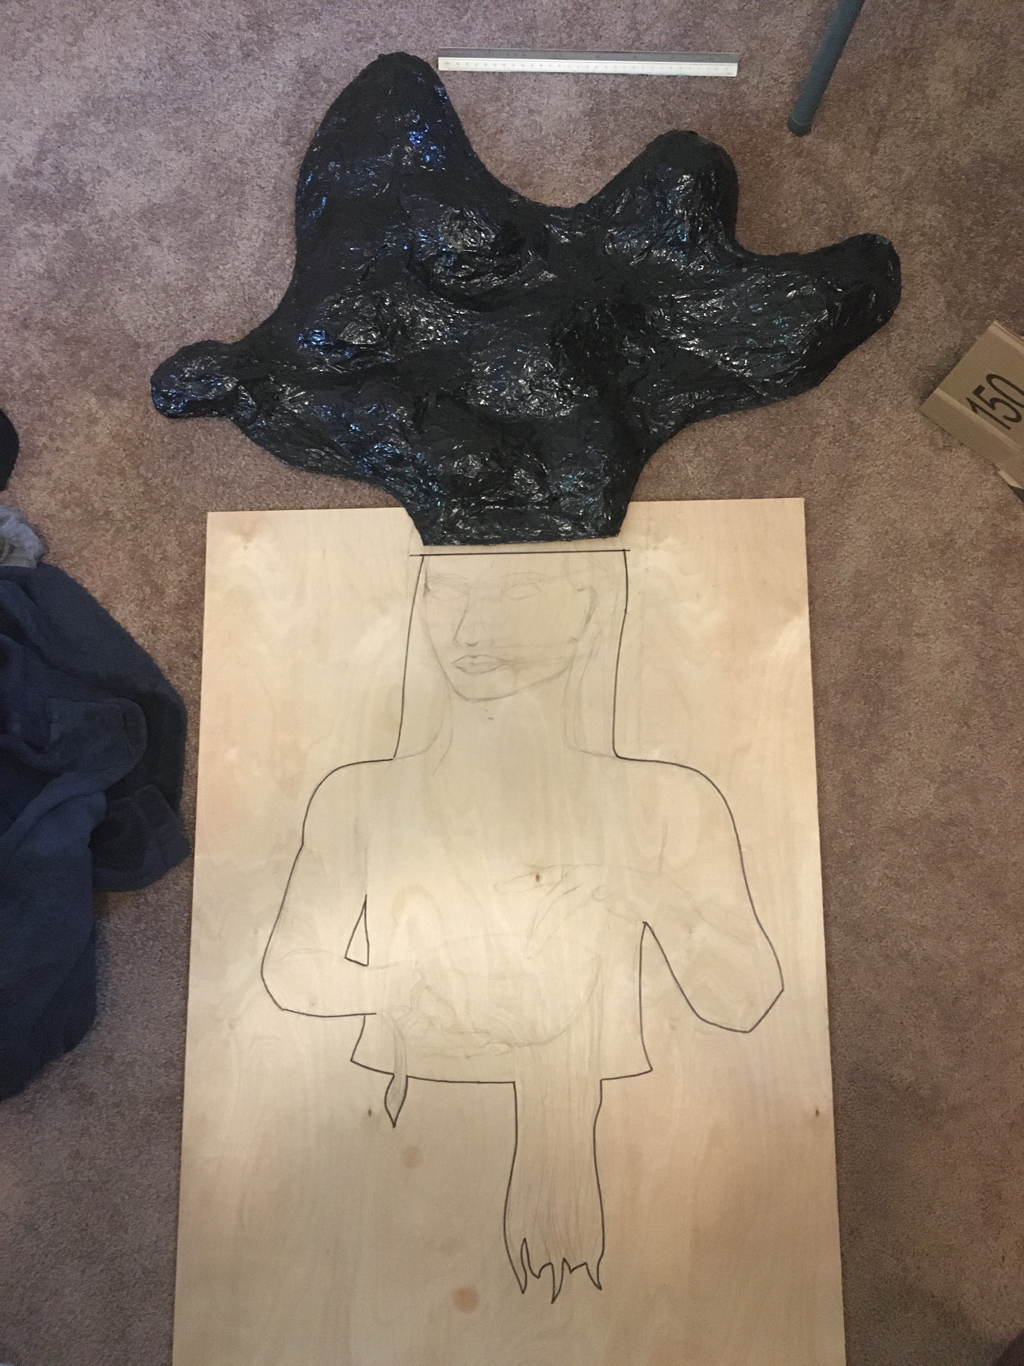
Once I was satisfied with the shapes and layers, i let the paper mache dry for a day so that it was sufficiently dry. I knew I wanted to make it all one color, but I couldn't think of any paint color I had in our little arts-n-crafts shelf that would cover all of the area. That's when I remembered the paint my mom was using to refinish our kitchen table. It was black and multipurpose -- plus, we had a LOT left over. So, I took the only larger brush I could find ( a sponge brush) and began painting. I started off with thinner layers at first because I wanted to cover every single crack and crevice. I ended up doing about three or four coats over the course of two days. Finally, I added a polycrylic protective finish to give it a nice glossy sheen. However, I noticed there was a problem the next day : the finish dried opaqued in some areas. To fix it, I went over just these problem-spots with the black paint, and then I did another thin layer of the polycrylic over the entire piece. Ultimately, i am very satisfied with how the head space turned out. I am excited to get started on the girl -- although I have to actually male a trip to the store before that happens... |
Archives
March 2021
Categories |
 RSS Feed
